Network Administrator
Easily make changes and tweaks to computers across your network with one press of a button.
Product Links
News And Tips
Network Administrator Manual
IntelliAdmin Network Administrator allows you to make tweaks and changes to your own computer, or many computers across your local area network.
Disable USB Drives, Set VNC Server Passwords, Kill Processes, Update Power Management Settings, Manage Windows Services, Change the Remote Desktop Port, Enable Remote Desktop, Reboot or logoff systems, and too many more to list here.
Getting Started – Very important. Network Administrator must be run from an administrator account. This is required because of new security changes by Microsoft that do not allow remote registry changes to be initiated by standard user accounts.
If you have not done it already Download Network Administrator Begin the install by double clicking on the program:
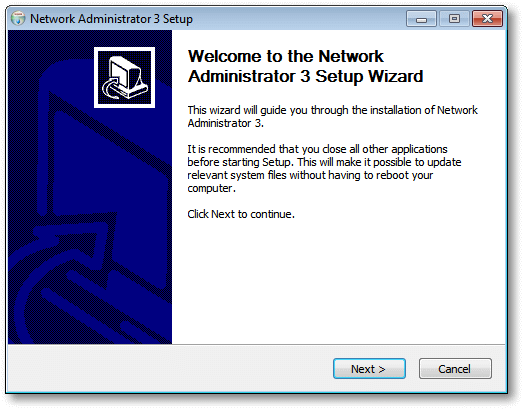
Click next, and select the folder you want to install the program. Once you have finished the install Network Administrator will launch
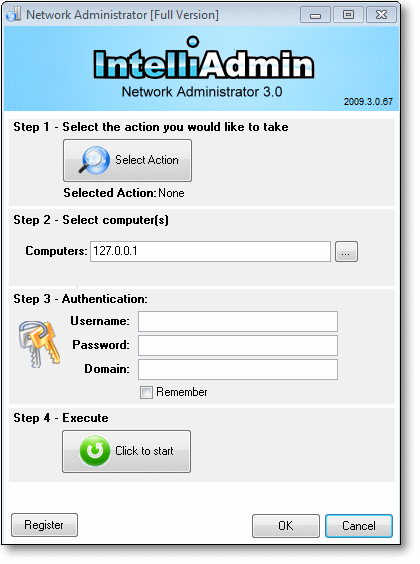
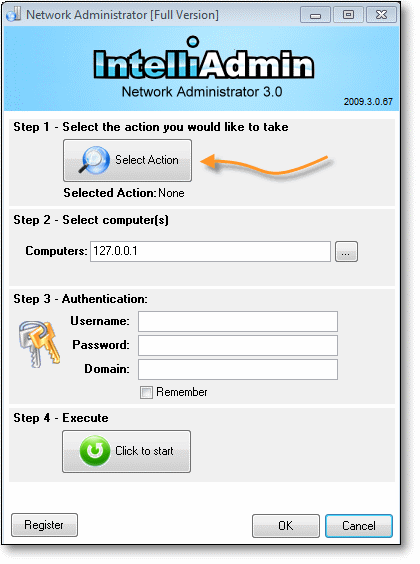
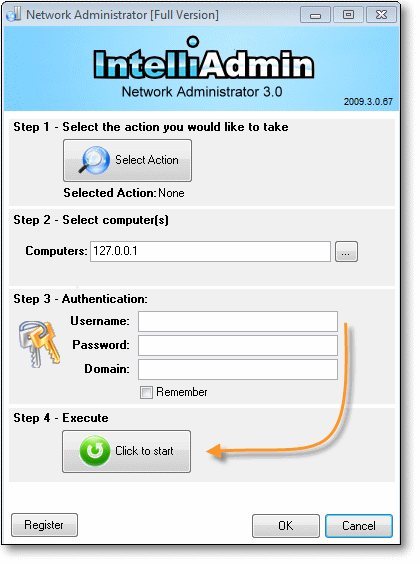
The first step is to pick the action you would like to take. You do this by clicking on the “select action” button:
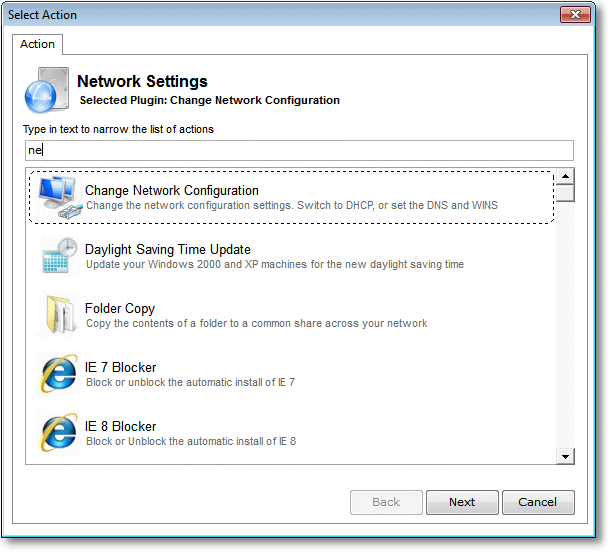
You will then be shown a list of plugins. You can easily narrow them down by typing in text in the search box. As you type, the list will be trimmed down to match your search:
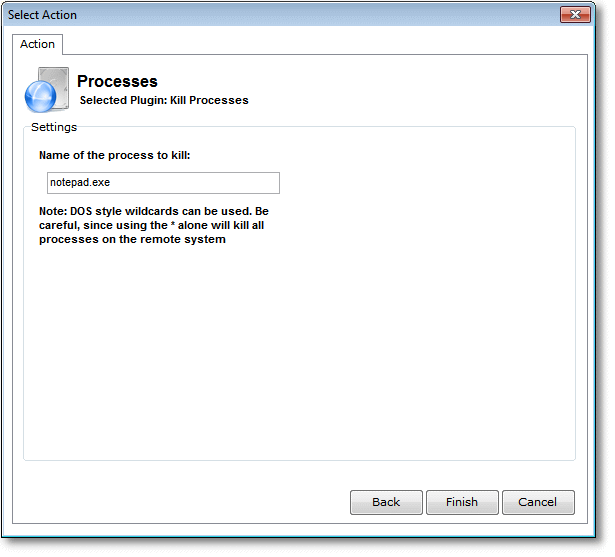
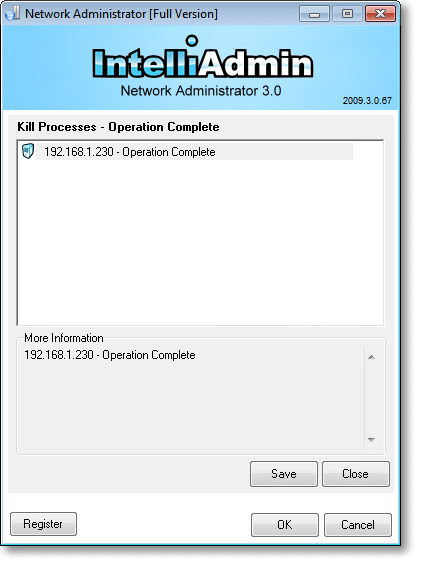
Once you have found your plugin, select it, and click next. You will then be shown the options for that plugin, in our screen shot here we want to kill all copies of notepad on the remote host:
Click Finish, and the next step is to pick the destination computers. You can add a list of computers by typing them in and separating them with commas. If you need to add many machines from your domain click on the "…" Button.
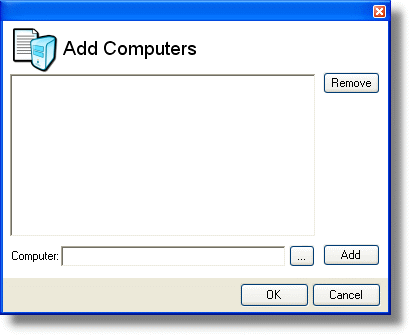
Once this form is displayed you can enter computers one at a time, or select multiple machines from an entire domain by clicking on the browse "…" button. After you click OK they will be added to the main application form in the comma delimited format.
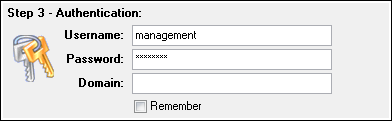
An administrator account is required for most actions. If the account you are running Network Administrator under is not an administrator for the remote machines, you will need to provide alternate credentials by selecting "Yes" for "Use another account". Simply type out the proper username, password, and domain name.
Now you are ready to process the selected action. Click the “Click to start” button:
It will process your action until it has completed:
Server Mode
If you run Network Administrator on a server edition of Windows (Windows 2003, Windows 2008, or Windows 2012) It will automatically switch to server mode:

This allows it to connect to 100 computers at the same time (Full version only). That way you can process a large batch of computers quickly. On client versions of Windows, only 10 computers can be processed at once. This is due to limitations put into Windows by Microsoft.
If you have any other issues or questions, please email us at support@intelliadmin.com and we will be glad to help!