When I worked as an IT administrator at a large company I cringed when I saw a message like this float by:

Usually in the To field it was sent to “All Employees”. A large number of attachments work fine when everyone is directly connected to Exchange on the LAN.
The problem arises when users on a slow link far across the WAN receive the same message, and they all start trying to look at the pictures at the same time.
Boom – the remote sites are all very slow, or totally down. All because everyone wants to see if they can catch someone doing something bad at the company party.
So when you see a message like this, and need to act fast – say remove that message from all mailboxes ASAP. How do you do it?
Strangely enough, this can be accomplished by using the ExMerge utility for Exchange.
It can be downloaded from here
I say strangely, because normally you would use this utility to move mailboxes to another exchange server. It is packed with features, and we can wield it to allow us to pull out specific messages.
To start you will need to create a new administrator account, and give it access to all mailboxes on the exchange server. I only suggest creating a new Administrator account because the standard administrator account has specific rights you would need to override. I would rather not tinker with these default settings.
Then you will want to login as the new administrator (On the Exchange server), download the ExMerge utility, and extract these files to C:\Program Files\Exchsrvr\bin folder.
Let me state, that before continuing – BACK UP YOUR EXCHANGE SERVER. A small mistake using this utility could wipe out all of your mailboxes (You could still recover…but who wants to take the chance?)
Now that your backup is finished, we can launch the utility. Look for the file named ExMege.exe in the C:\Program Files\Exchsrvr\Bin folder.
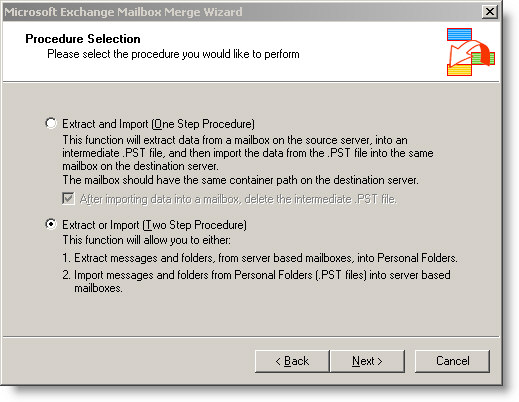
Click Next on the first page, and on the second we want to pick the “Two step procedure” and click next
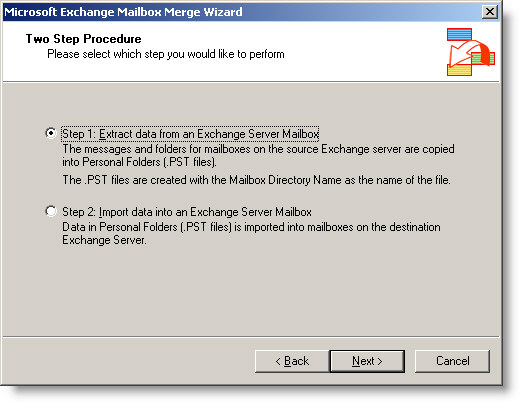
On the next page we will select “Step 1”
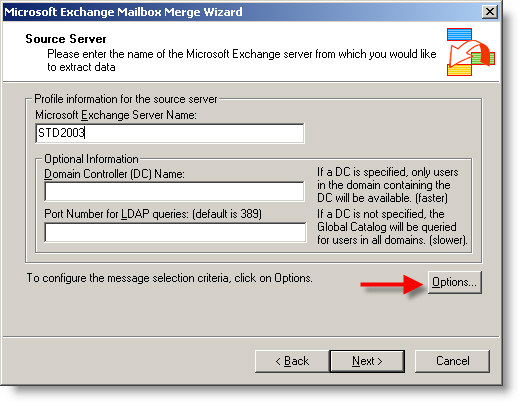
On this page, fill out the host name of the Exchange server, the info below it is optional and will be automatically filled if you leave it blank. Click on the options button.
Once the options window appears, go to the “Import Procedure” Tab. Change it to “Archive Data to Target Store”. Here is were we need to be careful. If we only made this change and then busted out of here and started our ExMege it would export all messages from all mailboxes and delete from the server. Yep I did it once. The part that will save you is that it does copy all of the data to a PST file (For each user) that you can merge back into the Exchange store.
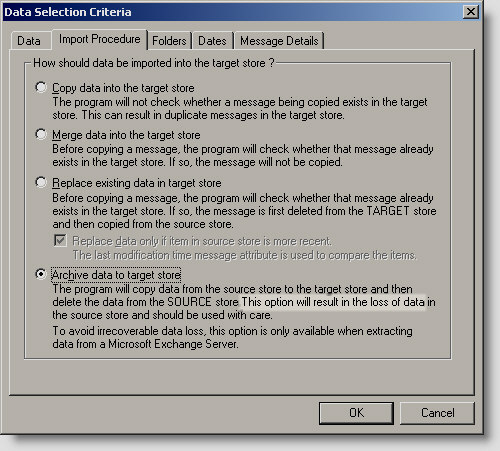
Since we don’t want our users screaming at us, and we simply want to remove a specific message – lets add some rules and move on over to the message details tab.
I know that most of my users do not send around images, so I am safe by picking the filename of one of the attachments in the email. You will need to make a careful decision on what would be the best match.
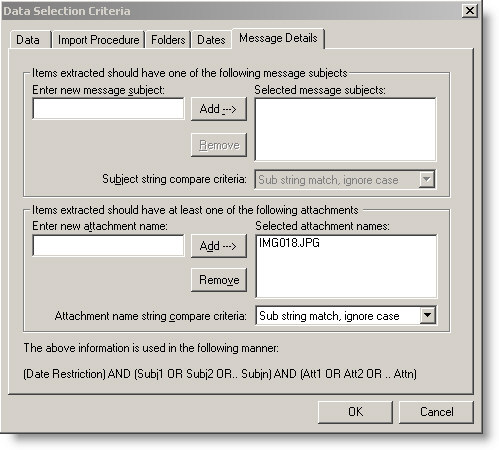
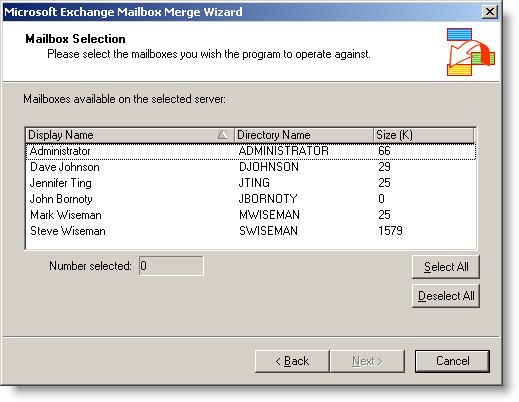
Now that we have a rule in place for what we want to remove, we can click OK. Click Next, and it will do some queries against the exchange server. Eventually it will come back with a list of users. Select the users you want to run this rule against.
The next page will ask you about your locale. Pick the appropriate option. Next page will ask you where you want your PSTs stored.
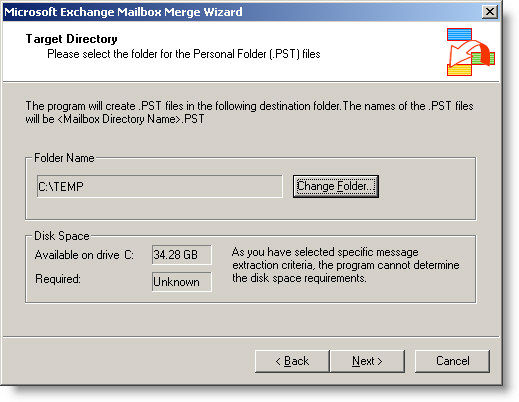
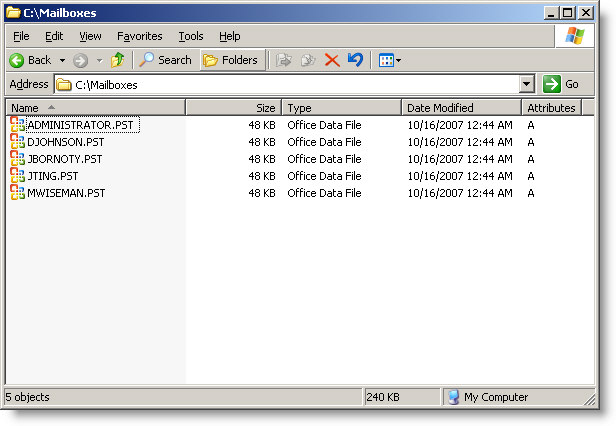
For each mailbox that you run this rule against, it will create a PST with the deleted messages inside of it. Pick a location that can handle the entire size of your store. Why? Because for some reason it will make the PST the same size of the original mailbox – even if only one message is copied out. These are only temporary, and can be used to reverse the process if we made a mistake. Once you are sure things went properly you can safely delete the PST files generated.
Click Next. Look at this page carefully.
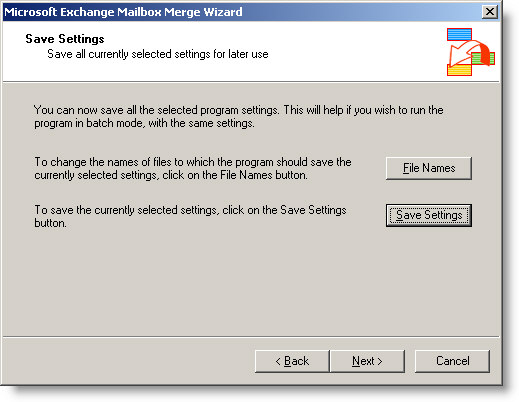
It is your last chance to stop what you are doing. No big red lights, no big sign saying “YOU MIGHT HOSE YOUR EXCHANGE SERVER…STOP NOW!!!” But this is it. If you are ready to make the change click next.
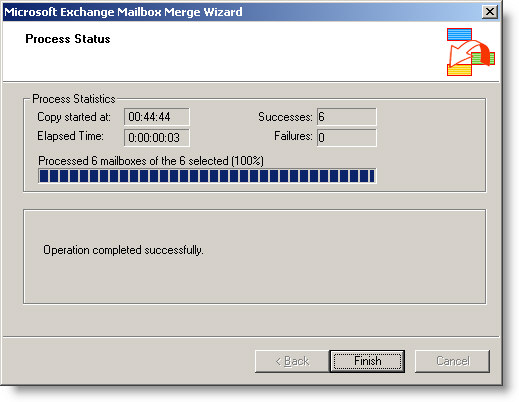
Before you know it, all of the mailboxes are updated.
You can check out the PST output folder to see what was deleted. Simply launch outlook, and load one PST at a time to get an idea of what was removed.
Now, before the folks in marketing could open the party pictures you have averted a small disaster.
One more thing…Subscribe to my newsletter and get 11 free network administrator tools, plus a 30 page user guide so you can get the most out of them. Click Here to get your free tools